This Christmas, my bessie mate Alison decided that, as we are both even more skint than usual, we weren't allowed to buy each other pressies. But one hand made gift was allowed.
I went up to visit her today, so of course being a total Last Minute Lucy, I've been frantically trying to get her gift made over the past few days.
 It took me a
while to work out what to make...I was going to go with jewellery, but she
makes infinitely better jewellery than I do (as you'll see shortly ;) ),
so in the end I decided on a small handbound journal / sketchbook as
she is a cracking watercolourist.
It took me a
while to work out what to make...I was going to go with jewellery, but she
makes infinitely better jewellery than I do (as you'll see shortly ;) ),
so in the end I decided on a small handbound journal / sketchbook as
she is a cracking watercolourist.
And
here it is. My first longstitch bound book. The binding is far from
perfectly even, but hey, that's how you can tell it's handmade!
It's heavy watercolour paper with a real leather wrap and a ribbon closure.
I actually finished it last night with a plain black cover. But this morning - I must have been dreaming of Portlandia - I had an inescapable urge to put a bird (or three) (there's another one round the back) on it.
So I got the spray paint and stencils out and added the birds on a wire....and I'm glad I did as they finish it off nicely.
Happy to report that the bessie approved :)
 So - what did she make for me?? The world's cleverest ring, that's what!
There it is, the copper ring in the box, topped with the lovely red lampwork glass bead (made by the bessie herself)
But what makes it super clever is that you can swap the topper around for any of the other four beads, as the ring has a tiny screw set into it, and each of the topper beads encases a tiny nut:
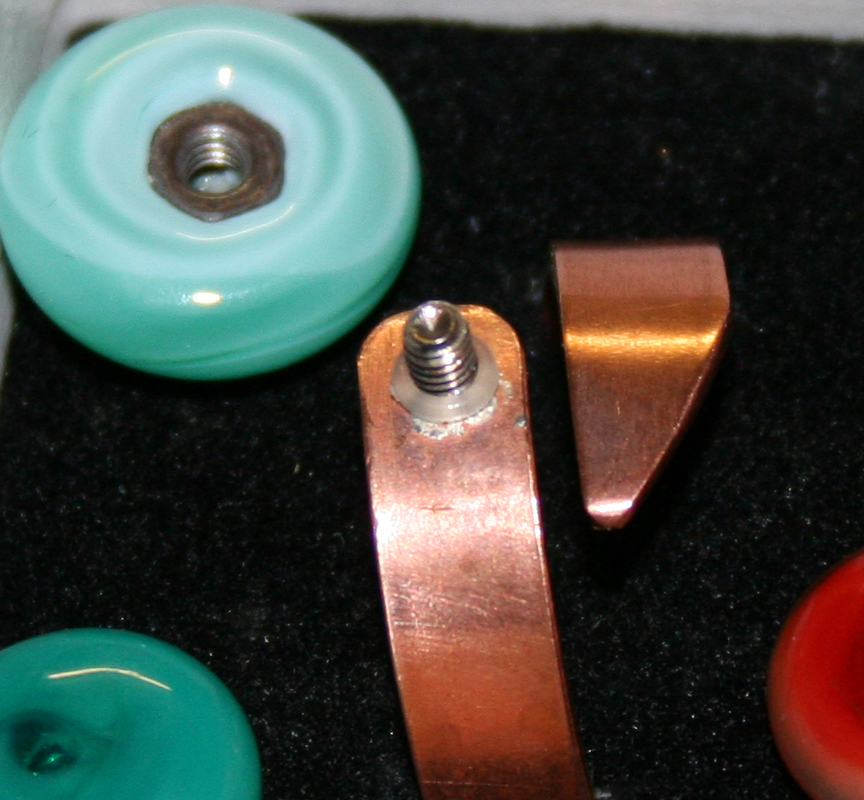
Genius!
 And here's what the ring looks like on (please excuse big splodges of spray paint on my fingers! They are from the "put a bird on it" frenzy this morning with the journal!)
All in all a most successful gift exchange! Handmade gifts are better than shop bought ones any day.
Thanks again for the ring bww, I love it!